


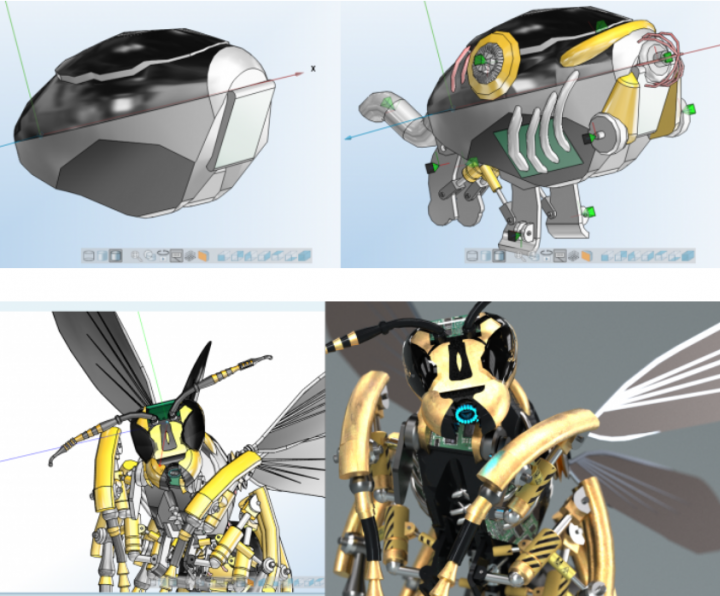
In this blog, we will show step by step creating process of the Robotic Wasp published on PARTcloud.net.
It is one of the most liked, viewed and downloaded models, so it deserved to be printed. It is created in PARTsolutions software. Mechanical parts are added to look unique and interesting.
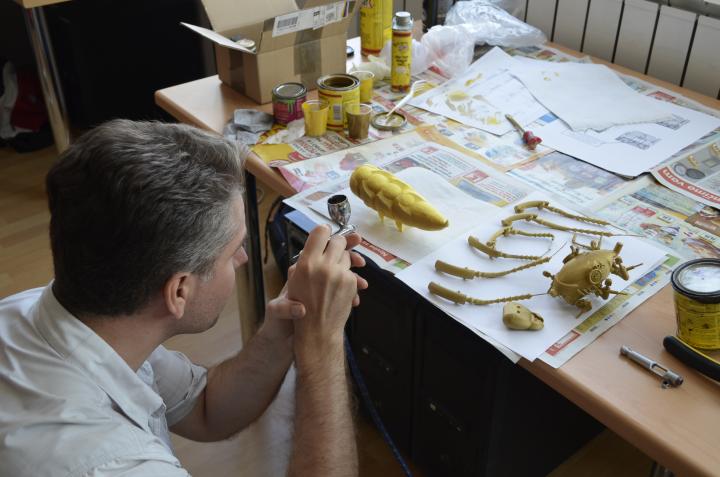
All parts are printed and everything went smoothly. This is the biggest part: the body. We used yellow in order to spend less paint.

Airbursh technique is used and it took three thin layers to have it covered well. Regarding the paint itself, it is an enamel paint, model Aztec Gold.
All parts are painted and it looks good. We will leave it for some time to get dry and then we can continue with the next step.


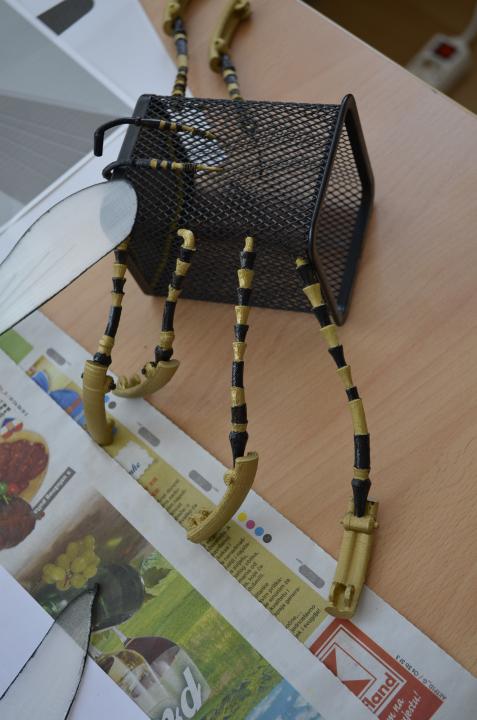
Next step: painting in black. Same thing: enamel paint, but this time we will use a regular brush. This will take some time, so be patient.

Everything is done and we can clear coat it now (two thin layers). Important: you must wear a respirator mask! The Robotic Wasp is done and we are happy with the final result.


Subscribe to our Newsletter
3DPResso is a weekly newsletter that links to the most exciting global stories from the 3D printing and additive manufacturing industry.