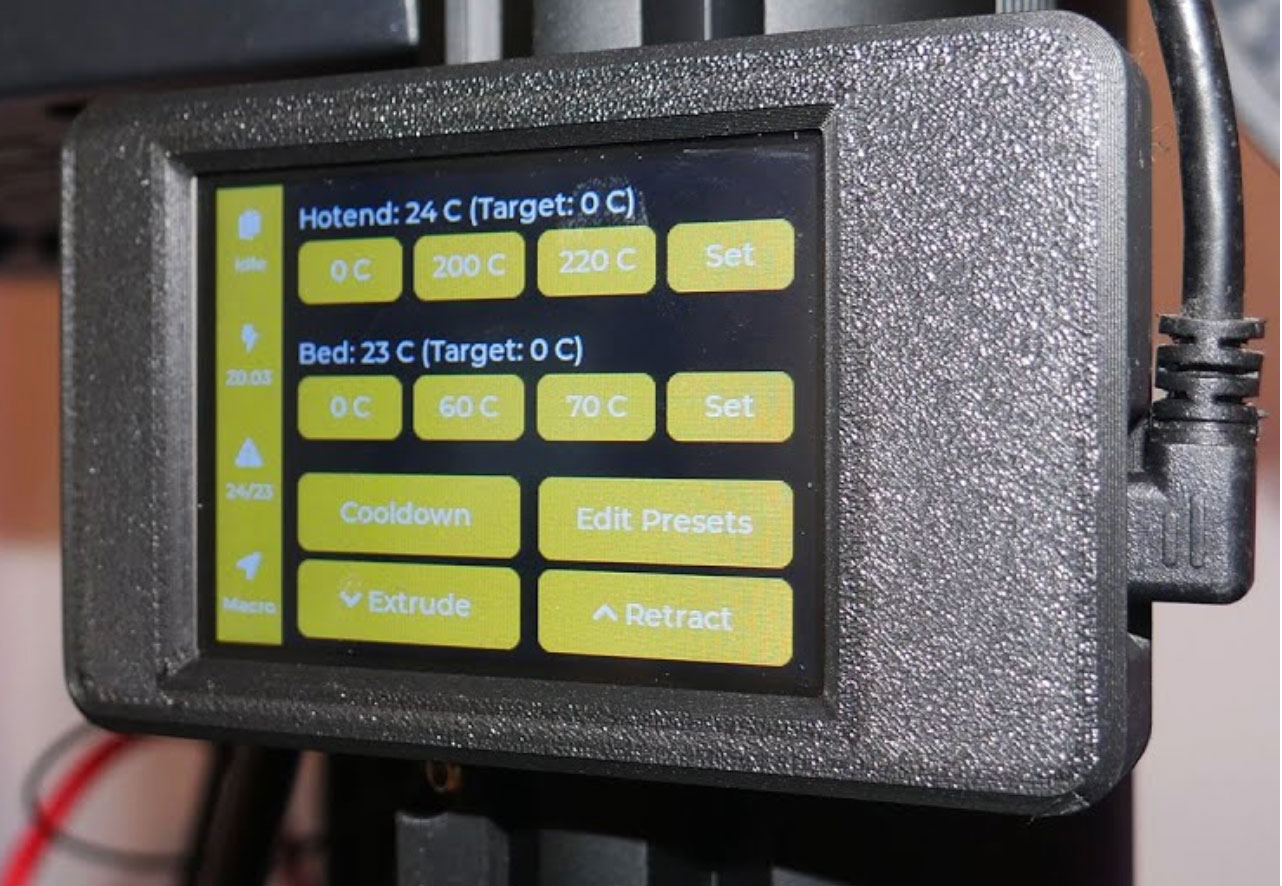
The Youtube channel Teaching Tech shows a new inexpensive way to retrofit a touchscreen for 3D printers with Klipper firmware. This is the “Cyd Klipper” display, which is very inexpensive at less than €10 and can be set up in just 2 minutes.
In contrast to other Klipper-compatible displays such as the popular “Klipper Screen”, the setup here is extremely simple, as automated installation is possible via a website. All you need is a computer with a USB port and a stable WLAN connection. After installing the driver, simply connect the display to the computer via USB, select the appropriate COM port on the website, start the installation and press the boot button on the display at the right time. After just 2 minutes, the installation of “Cyd Klipper” is complete and the display is fully functional.
In practice, the display offers similar functions to “Klipper Screen”, albeit in a slimmed-down form. You have access to pressure, motion and temperature control, can execute macros and make various settings on the display itself. It is operated via the touchscreen, either with a finger or the included stylus. To power the display, simply connect it to the Raspberry Pi via USB. You can create a holder yourself using 3D printing.
Subscribe to our Newsletter
3DPresso is a weekly newsletter that links to the most exciting global stories from the 3D printing and additive manufacturing industry.


