

As a 3D printing beginner you often don’t have a large budget for a new 3D printer. In the lower price range there are lots of different printers that are produced in China. Often they are modified versions of the Prusa i3 that was created by the RepRap community. These printers are available from 200€ up to 800€.
Usually the cheapest kits come as DIY versions in separate parts and you have to build the printer on your own. We had the opportunity to test the Anet A6 DIY kit that comes with a price tag of just over 200€. We have built and tested the 3D printer and besides some minor problems it performed really well keeping in mind the price.
Here are some pictures of objects printed with the Anet A6:


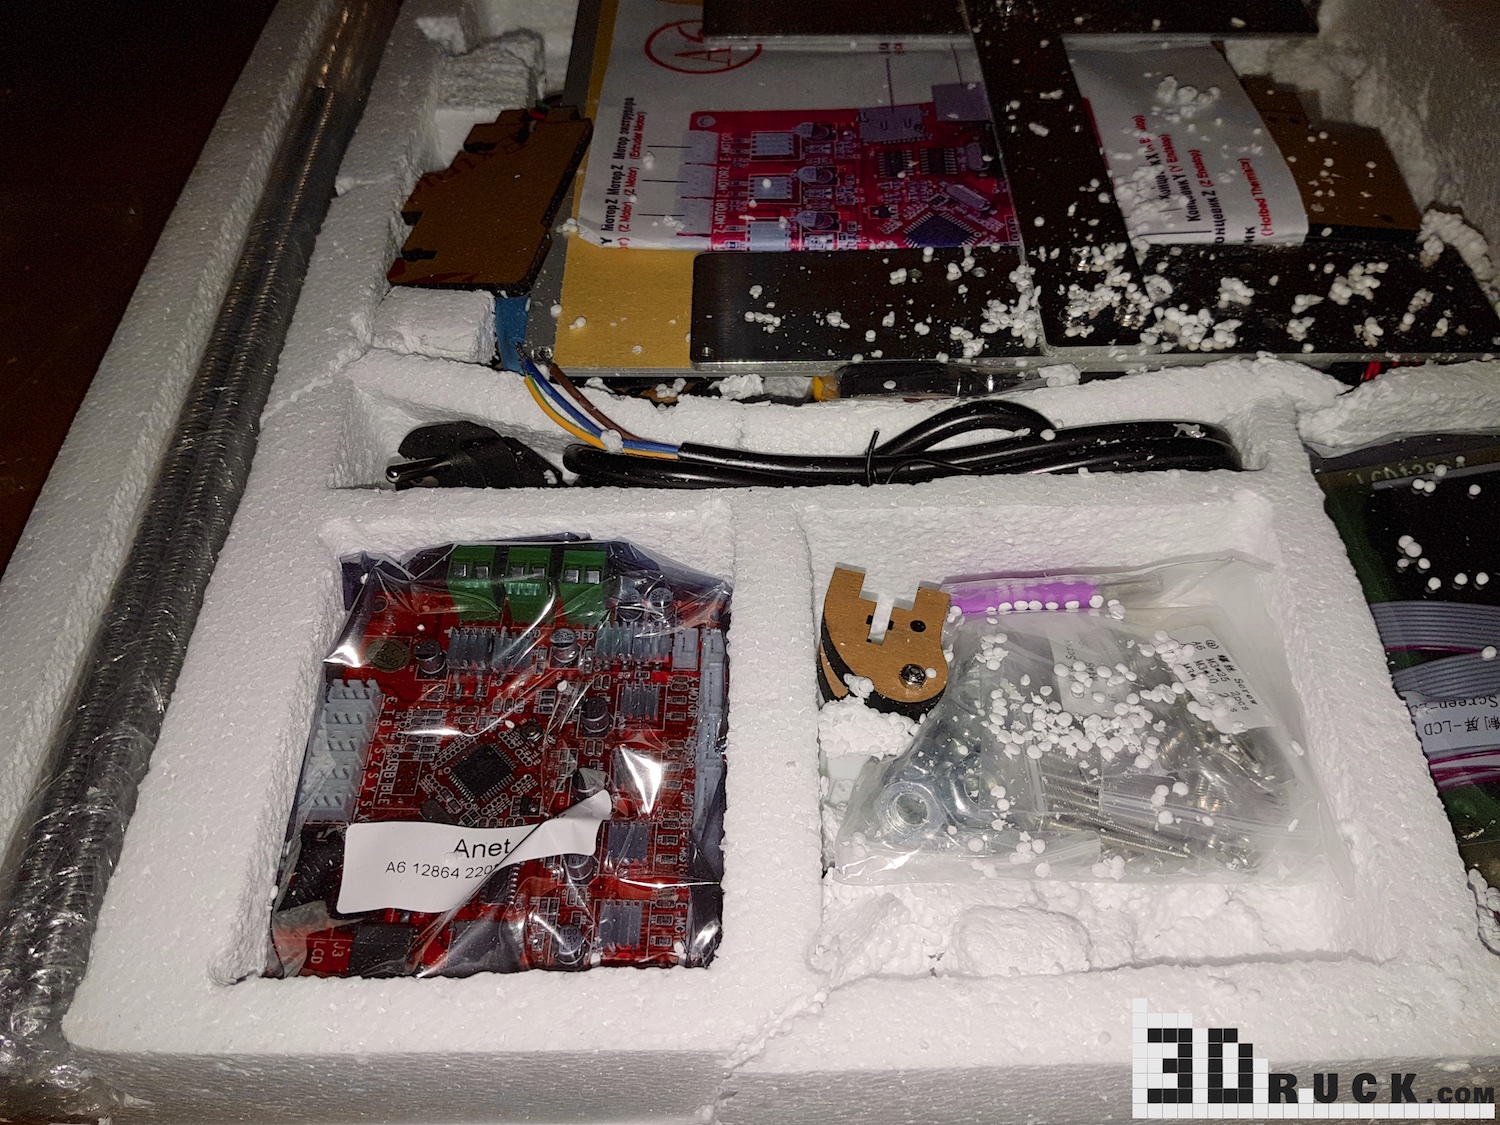 When I first opened the box with the parts in it I had my doubts: The styrofoam that should protect all parts was damaged on nearly all edges and on the inside too. After sorting through all parts of the box and removing the styrofoam waste I was relieved – only the aluminium printing plate had a small scratch. No other parts were damaged.
When choosing the right settings you may be surprised how well the Anet performs
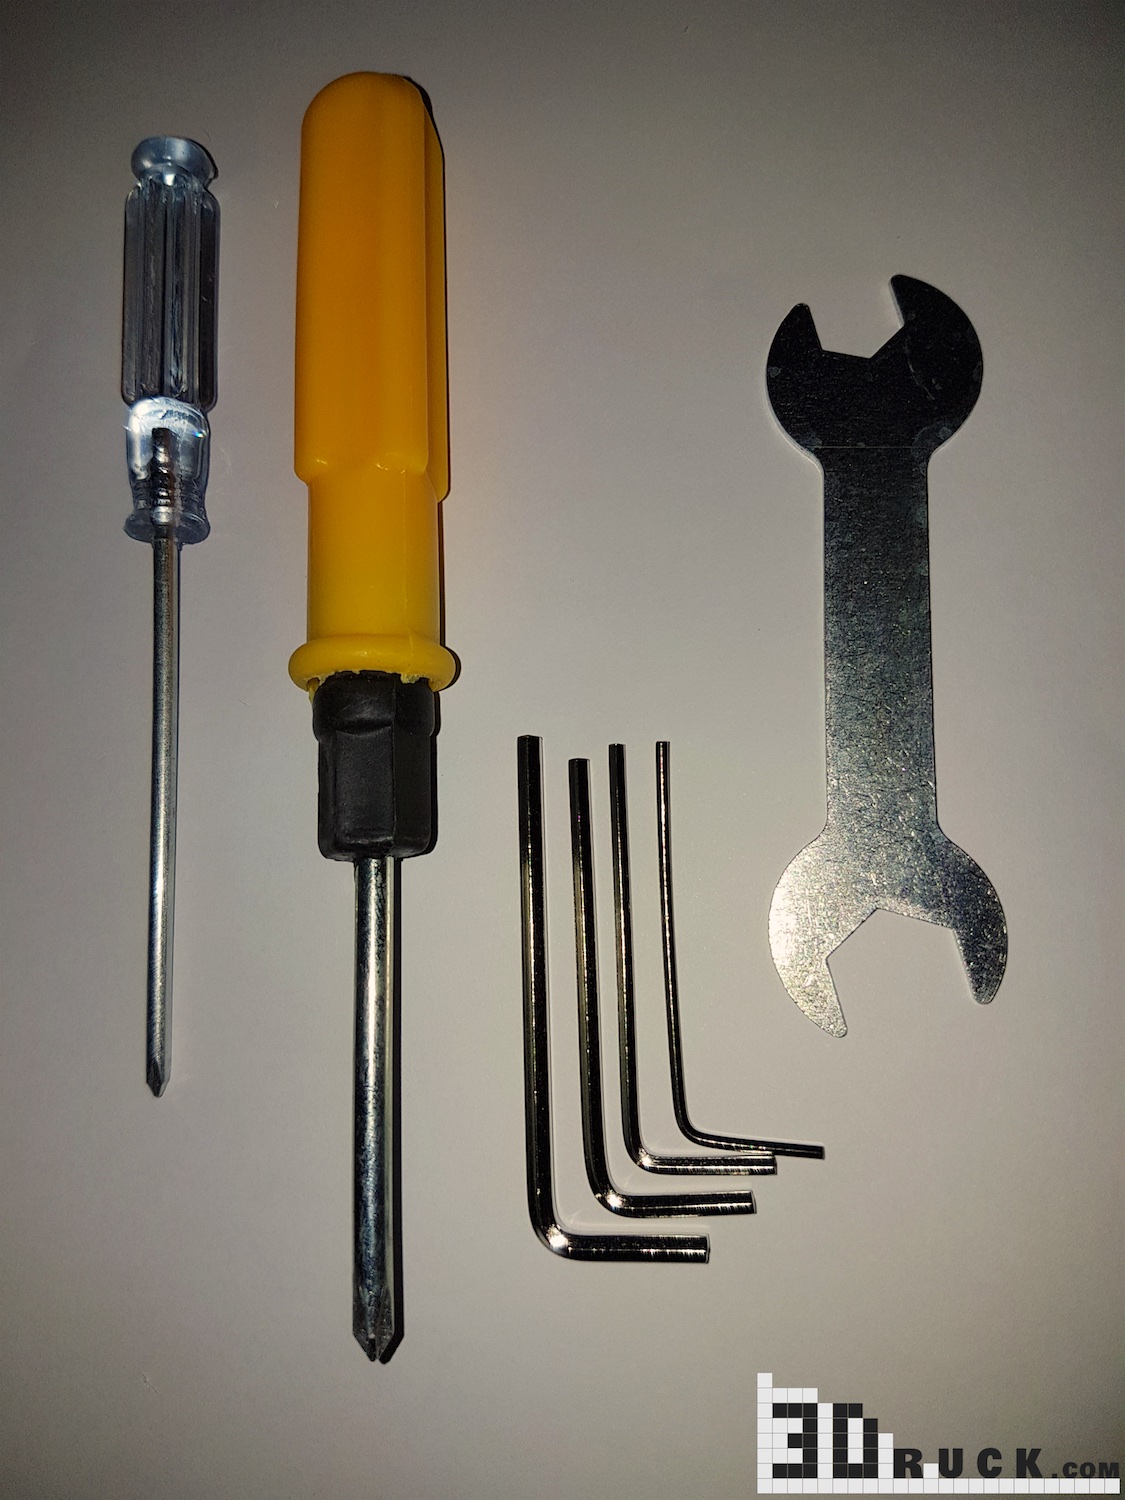 All the necessary tools for building the printer come with the kit. A USB Micro-SD card reader with a 16GB MicroSD card is also included. The MicroSD card is already filled with tutorials for building and using the printer and with slicing software. As an alternative to the PDF guide for building the printer there are also YouTube videos available. You can plan about a day for building the printer.
Screwing the mechanical parts and the electrics together isn’t any problem but don’t forget to remove the protection foil from the parts before you use 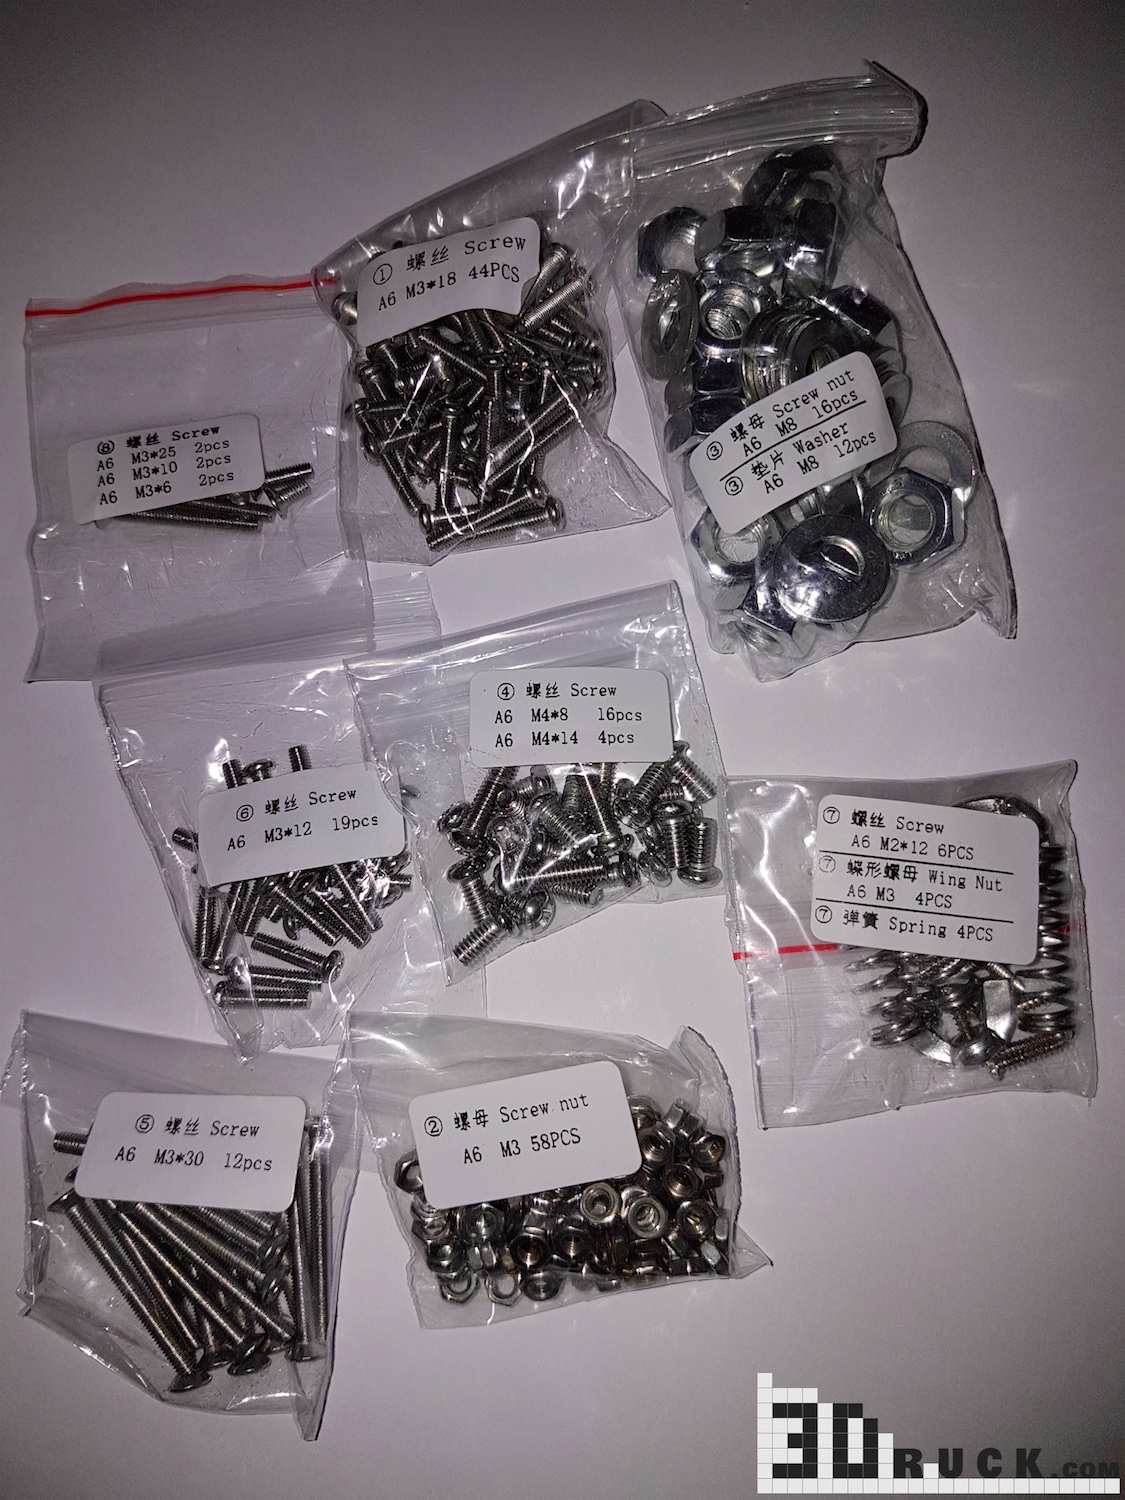 them. I had only one problem and that was the power supply: I was missing some screws that should be used to fix the cables and was able to locate them inside the power supply. If you use the power supply with the screws in it, there is a risk that the screw cause a malfunction of the power supply and this could even lead to the destruction some of the other printing electronics. There is a quick solution for the problem: Open the case of the power supply and shake it gently to get the loose screws out. However, we do not recommend this. You could get seriously injured if you do so at your own risk. It’s recommended to contact your merchant to get a replacement if you experience such problems.
There is also another thing I don’t like about the electronics: The mainboard with the drivers will create a fair amount of heat. If you build everything as explained in the building instructions the mainboard with the drivers is covered with lots of cables and a plate. That may prevent the heat from convecting into the air. Thus, when printing over a longer period of time, your drivers could get hot and that will shorten their lifetime. Because of that I decided to simply leave the plate out in order not to run into these problems when using the printer over longer time.


The printer can be used with all the different slicing software that is available for Rep Rap 3D printers. A profile for Cura is included and when you choose another software you can use the settings from the cura profile.
Now let’s get to the print results: In my test runs the printer was able to really show what it’s worth. Especially the gecko, the sculpture and the vase were printed in an pretty decent quality – unlike what you would have expected from a 200€ 3D printer. Officially the Anet A6 can print at a minimal layer height of 0.1mm (100 microns) but technically it can also print smaller layer heights. I have tested it down to 50 microns but the best results, considering time and quality, were achieved with 75 microns. The sculpture and the vase were printed with these settings.


Sadly, after some prints filament blocked the extruder and could not be removed (even with hot extruder). The solution for me was to completely disassemble the hot end and clean everything. After that I re-assembled the hot end and everything seemed to be fine. However, after some time printing I saw filament leaking out above the nozzle and also running out onto the heat block. That could be due to the hot end being assembled when it was cold – after some research on the internet I found the right way to do this.
To save you some time I will describe the procedure here (the same thing also works with other hot ends like the popular E3D hot ends):
- Disassemble and clean all parts of the hot end (that may work only when it’s hot)
- Screw in the nozzle and when it’s fully screwed in loose it again ½ or 1 turn
- Screw in the threaded rod with the PTFE tubing in it from the top as good as possible
- Screw in the nozzle but don’t use to much force because with that you can destroy the thread inside the heating block.
- Heat up the hot end to the the temperature you want to print + 5 or 10 degrees C (not over 240°C because that may harm your PTFE tubing) and wait a few minutes
- Tighten the screw when the hot end has reached the temperature
Following these steps the hot end was leakproof again. After 10 more hours of printing I noticed a small amount of black PLA on the top of the heat block again but it didn’t increase and therefore wasn’t a problem for me.


A few words on the mechanics of the Anet A6
The 8mm acrylic glas ground structure is stable and looks very clean. The bearing blocks for the Y Axis look a little bit cheap and one of the ball bearings has lost some of its balls. That’s not a sign of very good quality bearings but it worked well. The bearings worked as expected and there was no noticeable leeway on the Y axis. The Z axis uses trapezoidal threaded rods – they are better than the cheaper standard threaded rods. The moveable parts of the X axis are completely made out of metal or aluminium and look pretty stable. These constructions are also needed because they works as a cooling part for the hot end. The belts of the X and Y axis could not be tightened after assembly – so make sure you tighten them well when assembling the printer. The hot end and extruder work well for PLA and because of the heated bed even small ABS objects will work. In my test flexible filament doesn’t work with the extruder. The printer is not louder than other replications of the Prusa i3 – the cooling fans for the hot end and for the filament are a little bit loud but that’s a common problem with all small fans. The only thing that is really loud is the peep sound that you can hear when starting the printer and when connecting or disconnecting it to the computer.
Conclusion:
All in all the Anet A6 is a great 3D printer for everybody that want’s to start with a cheap DIY 3D printer. The hotend is optimised for printing PLA because the included PTFE pipe will only work for temperatures up to 230 or 240 degrees C. If you want to print special materials you may need an other printer with an heat chamber and a better hot end. Of course more expensive printers have better electronics and hardware but if you take a close look at the results of our printing tests, they came out pretty decent.
Subscribe to our Newsletter
3DPresso is a weekly newsletter that links to the most exciting global stories from the 3D printing and additive manufacturing industry.